
Excel Tables
July 13, 2016
Excel tables are great. They take your plain old data and turn it into a dynamic, well formatted table with a whole host of features. In fact, whenever I have any data that I need to do some simple processing on, the first thing I do is turn it into an Excel Table. With this post, I intend to get you just as excited about Excel Tables as I am.
I used to work for a manufacturing facility that created seat belts for lots of different vehicles. Cars, planes, ambulances, we covered it all. I was involved heavily with their MRP system. It was my task to make the system more efficient along with other processes within the company. Whenever I found an inefficiency in our processes I would talk with one of the lead manufacturing operators on the shop floor about it. The conversation would go something like this:
Me: Hey John, why are we doing process X like this?
John: Well, that’s how we’ve always done it.
This was a very common response. Basically, things were working just fine on the shop floor and why should we change it? It’s working, right?
If the only reason people can give you is “it’s how we’ve always done it,” then you can bet there’s a better way to do it.
Yes, things were working, but they could be working better. I mean, this is the reason they hired me, to make the processes more efficient.
So, why am I telling you this story? Simple, because if you have not been using Excel Tables in your spreadsheets because, well, you’ve always done it that way, then this post is for you.
There are lots of reasons to use Excel Tables. They help you get more done in a shorter amount of time.
If any of the below relate to you, then this post is for you:
- Have you ever needed to
shade alternating rows?
You might use that old conditional format formula
=MOD(Row(),2)=0. -
Do you reference your data with complicated formulas like
=INDEX($A1:$A30,MATCH($J1,$B1:$B30,0))?- What happens if you add data to your table? Now you have to go back to your
formula and update the final row from
30to31+.
- What happens if you add data to your table? Now you have to go back to your
formula and update the final row from
- Do you click on the “Filter” button to get those nice dropdowns to sort and filter your table?
- Do you use Named Ranges often? Do you find yourself needing dynamic named ranges a lot of the time?
- Do you Freeze the top row so you can always show your column names when you scroll down?
A little knowledge goes a long way and today I’d like to share with you how to use Excel Tables which will save you time and a lot of hassle.
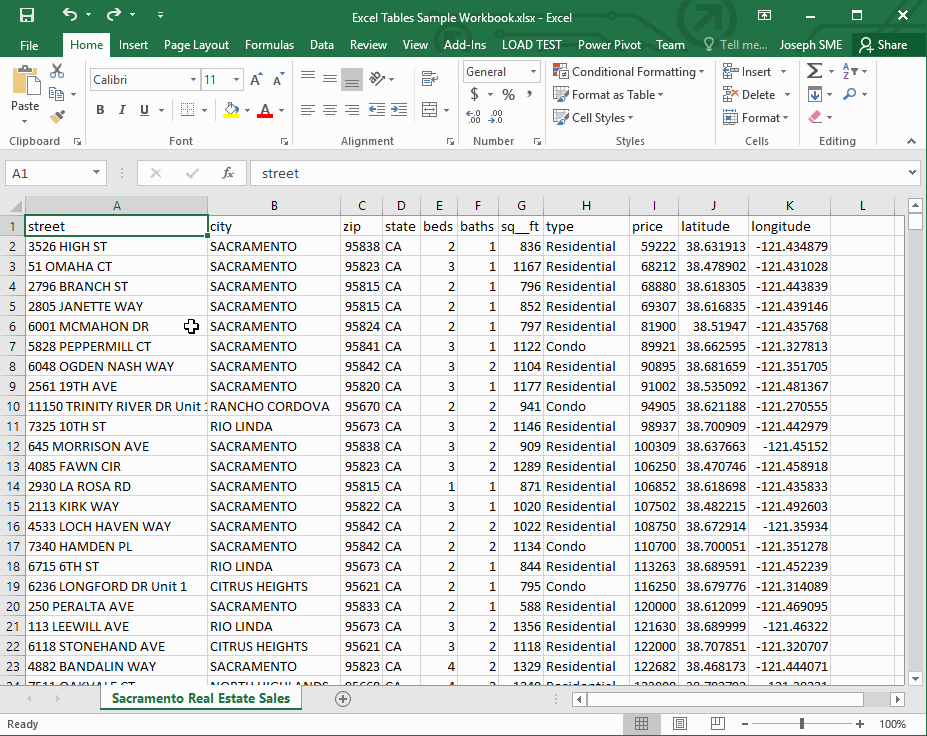
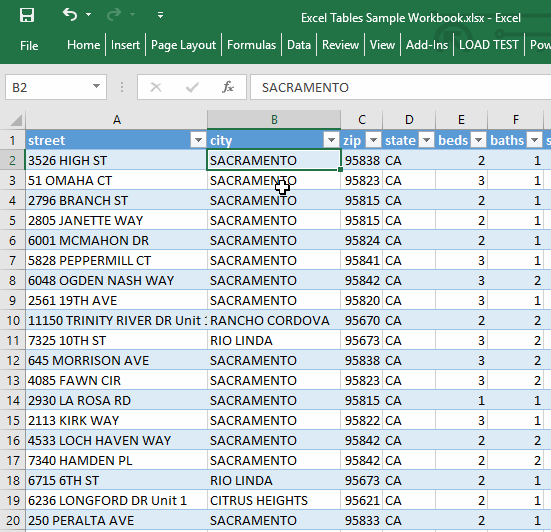
To get started, we need to get some data to work with. For all of the examples we’ll be looking at, I used this site to download data for real estate transactions in California. I encourage you to follow along!
Download the data here. It’s listed under Real Estate Transactions. P.S. I have no clue if this data is real or not. I just needed something to help illustrate the examples.
Creating the Table
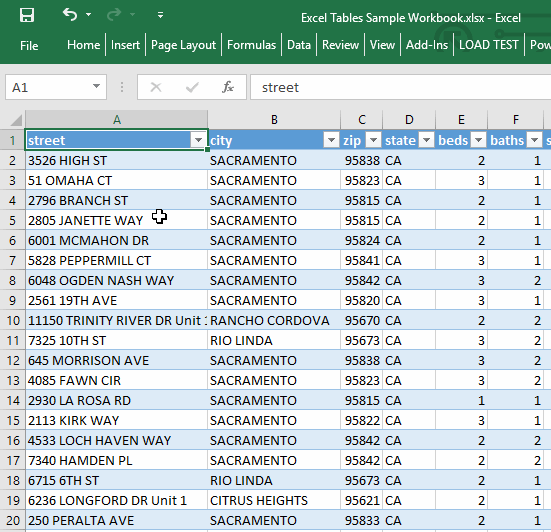
To create Excel Tables, we need to:
- Select any cell that is within our table
- Click on the Insert tab in the ribbon
- Under the Tables group, click Table
-
A prompt will ask you if you have Headers. This sample data does have headers, so we’ll keep it checked.
- Note: if you’re not familiar with what Headers are, basically they are just names for each column you have in your data.
- Another note: if you don’t have headers and you uncheck the “My Table has Headers” checkbox, then you will be given generic header names like Column1, Column2, etc.
- That’s it! You now have your Excel Table.
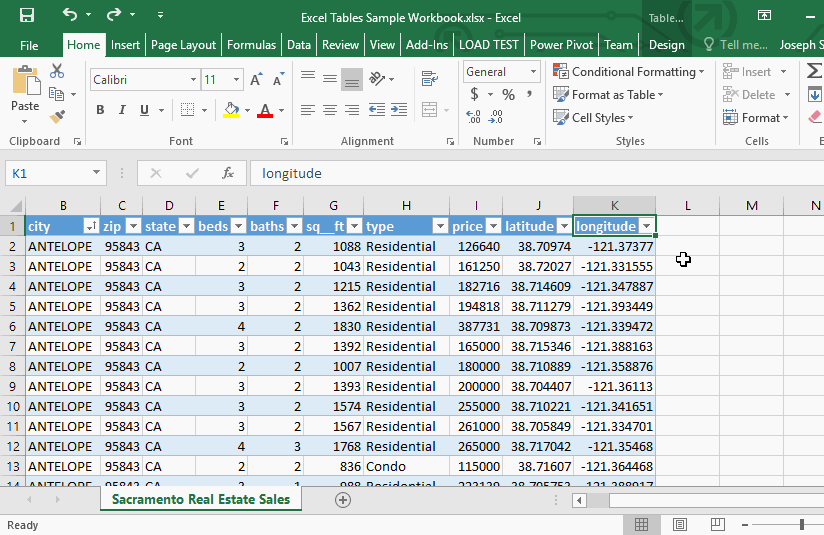
There are some obvious things you will notice right away when you create the Excel table:
- You now have some fancy formatting, including alternating shaded rows (this is called “Banded Rows”)
- You also have dropdown buttons for each column, allowing you to sort and filter on your data.
However, there are some things that you may not have noticed.
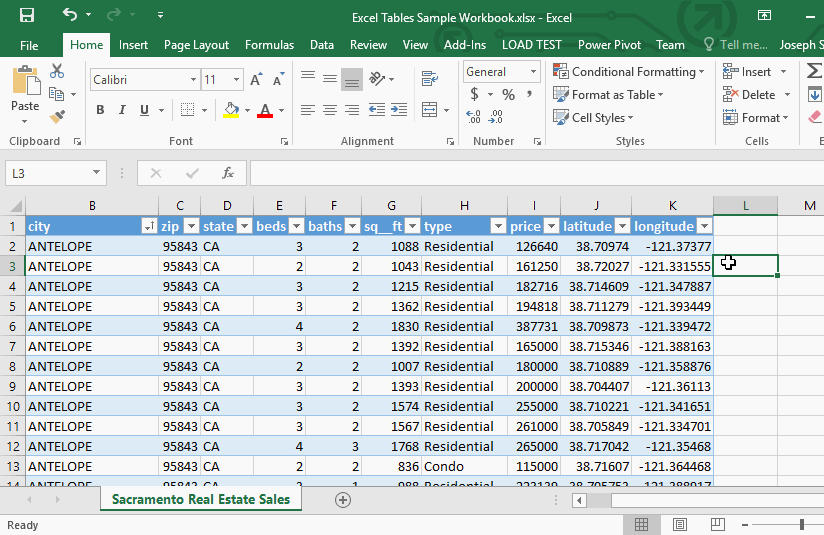
For instance, you can now scroll down past your column names and they will replace the column letters A, B, C, etc. Even the dropdown sort/filter buttons come along for the ride.
This nice little scrolling trick will only work if you have a cell in the table selected while you are scrolling. Once you click elsewhere in the worksheet, those columns go back to A, B, C, etc.
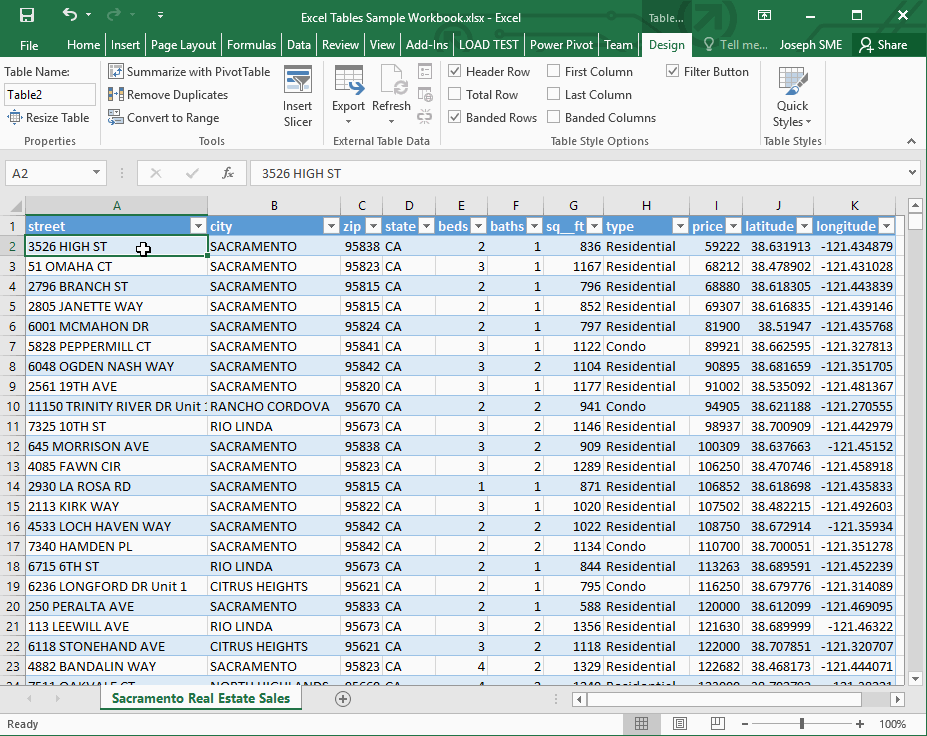
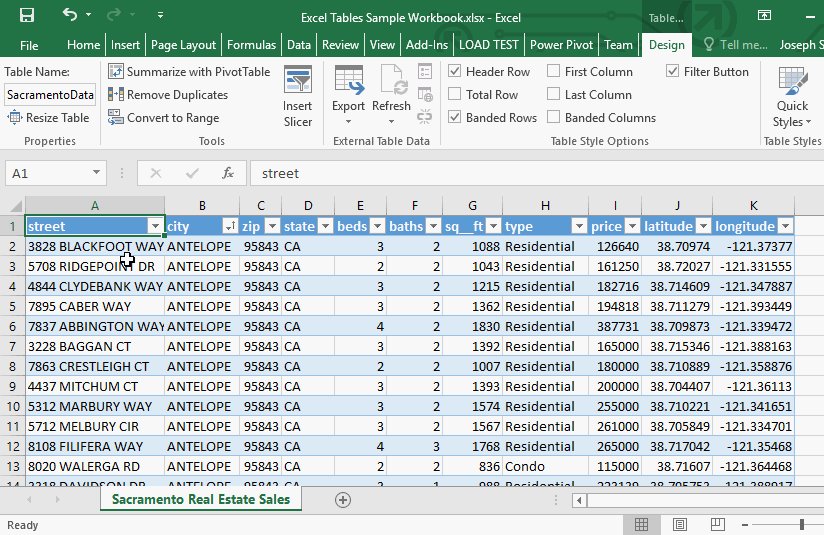
There is also a new Ribbon tab called Design that has options for your new table. You can only see this new tab when your “Active Selection” is within your table (meaning, you have to have a cell selected that is within the table).
There are other items that are now available as well, but we’ll get into that a little bit later.
Does this article help you? If so, please consider supporting me with a coffee ☕️
Give Your Excel Table a Meaningful Name
The first thing you should do the moment you create the Excel Table is give your table a meaningful name. This is going to save you some headaches down the line, especially when you are referencing the data in your table with Formulas or with Charts.
To name your Excel Table:
- Click in the Excel Table to activate the Table Design tab in the Ribbon
- Under the Properties group, there is a text box with the table name
- Click in that box and change the name to something meaningful. For this example, I used SacramentoData
- Press Enter to save the table name
Why is this important?
What’s easier to remember?
This?
=AVERAGE(Table1[price])Or this?
=AVERAGE(SacramentoData[price])You know the answer.
By the way, you can’t use spaces or special characters in Excel Table names (even though you can in column names). This is because when you write a formula, Excel has to parse the formula and there are special characters that mean certain things in formulas. For example, you might think you could use a hyphen in your table name, but you can’t because Excel might think you are trying to perform subtraction within the formula.
So it’s recommended to use CamelCase for your table names because it follows the rules of Excel Table names and it’s easy to read. If you really want to separate words in your table name, you can use an underscore ”_“.
Sorting and Filtering
With Excel Tables, you also get to sort and filter your data.
If you need to sort multiple columns at the same time, you will still need to use the regular Sort button found in the Data tab in the Sort & Filter group.
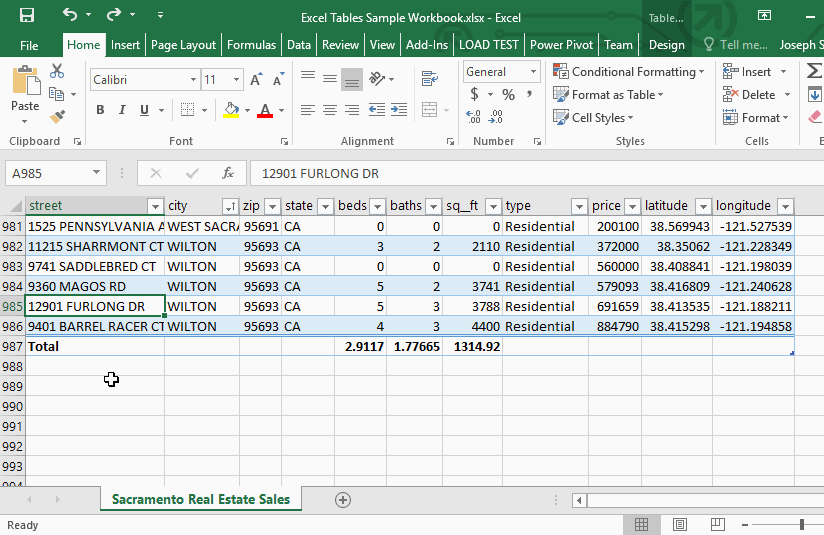
Adding New Columns in Excel Tables
Another nice feature of Excel Tables is that when you need to add a new column, that column automatically gets integrated within the Excel Table.
To add a new column, you can either insert a column within the existing table, or you can quickly type in the header (column name) at the end of the table columns in the first row.
In this example, I also add a quick formula to show how Excel will also apply the same formula throughout the whole column (in the animation below, at the end of the formula I simply pressed Enter, no special key combination). The formula uses Structured References, which make writing formulas super easy.
To learn more about Structured References, I made a nice infographic that you can check out here.
Adding Data in Excel Tables
Adding data in Excel Tables is much nicer than using regular tables. When you add any data like columns or rows to the table, the table automatically expands to incorporate the new data, which means that you get the nice formatting that it has and you don’t have to update any formulas that are using Structured References.
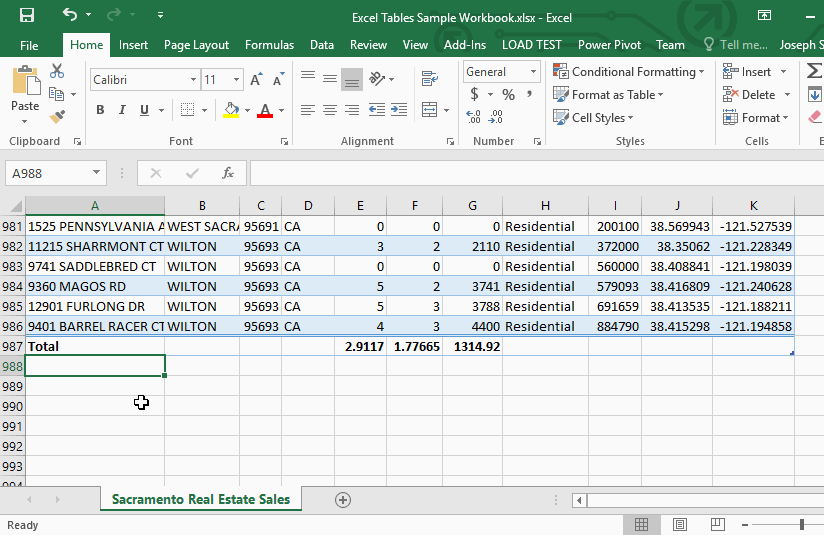
Automatically Calculate Totals In Your Table
Have you ever had to use the =Subtotal() function? Every time I use that
formula I have to check the
help pages
for which function number I need to use.
Never again if we’re using Excel Tables. You can easily add a Total Row to your table and will be given a dropdown for all of your columns.
To turn on the Total Row:
- Click inside the table
- Click the Design Tab
- Under Table Style Options, select the Total Row checkbox
It’s a really nice feature to have the dropdown automatically added for your columns because now you can select which subtotal function you want by simply choosing the name like Average, Count, Max, Min, etc.
But how do I Add Data if I already have a Total Row?
No worries, there are a couple of easy ways around that.
The first way is to simply remove the Total Row and then adding more data. Then turn the Total Row back on.
Or, you could simply just Insert new rows before the Total Row.
Is this really all it’s jazzed up to be?
Absolutely! If you’re not convinced, check out how much easier formulas are with Structured References.
I mean, technically speaking, you could do all of these things that Excel has to offer without using Excel Tables. However, you’d have to create dynamic named ranges for every column (which have those confusing OFFSET() functions), implement your own shading, and create your own Total Row by hand. But really, who wants to go through all of that mess?
Trying to re-create Excel Tables with formulas is about as easy as training your dog how to ride a scooter. It’s possible, but practical?
I hope you enjoyed this post and I look forward to writing the next one! If you have an Excel Table tip / trick you’d like to share, please comment about it below!